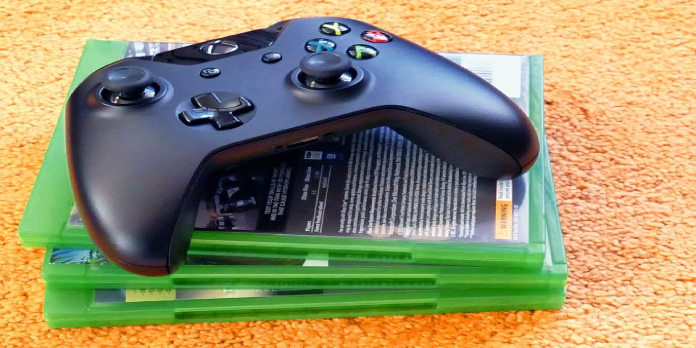
Here we can see, “How to Connect an XBOX Controller to a PC”
In this digital age, almost everyone has some sort of device that allows them to access their favorite games from anywhere. Whether it’s on your phone, tablet, laptop or even desktop computer, gaming is more accessible than ever before. Though many people are familiar with the standard controllers for consoles like the Nintendo Switch and the XBOX One, not many people know how to connect a controller to a PC. It may seem daunting at first but it’s actually quite simple – you just need to know the right steps. With this article, you will learn everything you need to know about connecting an XBOX controller to your computer and begin gaming as soon as possible. Keep reading to find out everything you need to know!
What You’ll Need to Connect an XBOX Controller to a PC
First, you need to know what you’ll need to connect an XBOX controller to a PC. You’ll need an XBOX One or XBOX 360 wired controller, a computer running Windows 10 (any version), 8.1, 8 or 7 , an available USB port and a few free minutes of your time! If you have an XBOX One controller, you’re in luck because it’s plug-and-play compatible right out of the box. That means all you have to do is plug it in, and it’ll be recognized by your computer immediately. For XBOX 360 users, however, you’ll need to download and install the 360 Controller For Windows software before you can connect your XBOX 360 controller to your computer.
Step 1: Know Which Type of XBOX Controller You Have
Before you jump into connecting your XBOX controller to your computer, you’ll need to know which type of controller you have. There are two types of XBOX controllers – wired and wireless. The wired controller has a USB cable that plugs into the computer and a wireless controller uses Bluetooth to connect to your computer. Though wired and wireless controllers have some similarities, they are by no means the same, so you’ll need to follow the directions below that are specific to your controller type. Wired XBOX Controller: The wired XBOX controller will come with the USB cable that you need to plug in to your computer. Once you plug the controller into your computer, it’ll be recognized and you’ll be ready to start playing. Wireless XBOX Controller: The wireless XBOX controller uses Bluetooth to connect to your computer. To connect your wireless XBOX controller to your computer, you’ll need to make sure Bluetooth is enabled and you’re within a certain distance of your computer.
Step 2: Download and Install the Necessary Software
For XBOX 360 Users: If you’re using a wired XBOX 360 controller, then you’re in luck at this point because you can skip this step. You can go ahead and plug it in and be ready to play right away. For XBOX 360 users with a wireless controller, you’ll need to make sure Bluetooth is enabled on your computer. Click the Windows button on your computer’s keyboard and select “Settings”. Select “Bluetooth” to make sure it’s turned on. Next, open the “Microsoft Accessories” folder on your computer. Once it’s open, select and open the “Xbox 360 Controller” file. Follow the on-screen instructions to install the software and once it’s finished installing, your wireless XBOX 360 controller should be ready to go!
Step 3: Connect the XBOX Controller to Your PC
Wired XBOX Controller: If you’re using a wired XBOX controller, you can plug it into any available USB port on your computer. Once it’s plugged in, it should be recognized by your computer and you’ll be ready to start playing! Wireless XBOX Controller: If you’re using a wireless XBOX controller, you’ll want to make sure it’s within Bluetooth range of your computer. If it’s not, it won’t sync up with your computer. Most people use a wireless XBOX controller while sitting on a couch or chair nearby their computer, so you shouldn’t have any issues. Once you’re within range, all you need to do is press and hold the “Connect” button on the back of the XBOX controller for about 5 seconds. While you’re holding the button, the light on the back of the controller should blink. Once it’s done blinking, the controller is ready to go!
Step 4: Start Playing!
You’ve followed all the steps, connected your XBOX controller to your computer and now you’re ready to start playing. There are a few games that support the XBOX controller right out of the box but many of the most popular games like Fortnite or PUBG don’t support XBOX controllers. You can solve this problem by downloading and installing a program called XBOX Controller Companion.


